

 |
Below is a sequence of steps to make watercolor paintings using Photoshop from real photos on your computer that you can refer to.
Step 1: First, you need to create a new Photoshop file by selecting File from the Menu bar. Next, click New or use the key combination Ctrl + N to open a new file.
 |
Step 2: Once you have opened the new file, insert the photo you want to convert into a watercolor painting by clicking the File button on the Menu bar, then click Place Embedded and select the photo you want to insert from the library.
 |
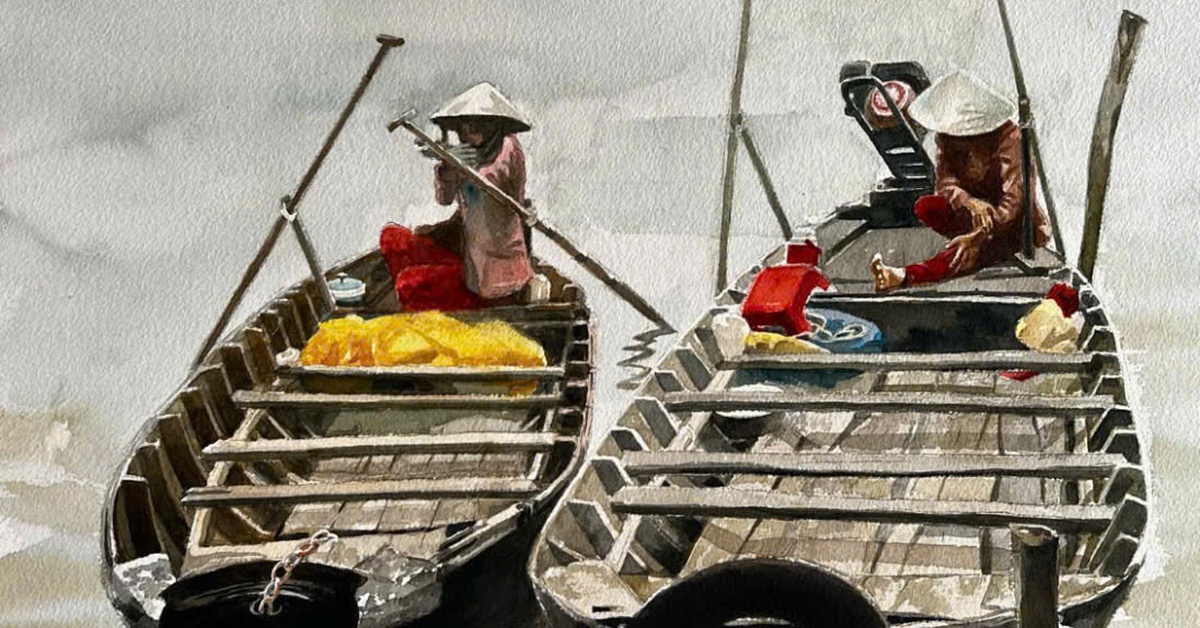
Here, I insert a picture of a tulip garden.
 |
Step 3: Once you have inserted the image into the working screen, duplicate the image layer by pressing Ctrl + J to have two identical image layers.
 |
Step 4: On the Menu bar, go to Filter and select Filter Gallery to open the Watercolor dialog box.
 |
Step 5: When the dialog box opens, click on Artistic. Next, click on Watercolor and set the parameters as in the photo and click OK to apply the effect to the photo.
 |
This is the photo after applying the watercolor effect.
 |
Step 6: Now, you continue to duplicate the layer that just applied the effect by pressing Ctrl + J and then name it Outline.
 |
Step 7: In that layer, select Filter. Then, click on Stylize and select Find Edges to display the edges around the object.
 |
As shown in the image below, we can see the objects are displayed with outlines.
 |
Step 8: In the Outline layer, change the Blending Mode from Normal to Darken as shown below.
 |
Step 9: To soften the lines, use blending mode by clicking Filter, selecting Blur and then clicking Gaussian Blur to open the dialog box.
 |
Then, adjust the Radius parameter to about 6.6 and press OK to blend the lines so that the picture is not stiff.
 |
And this is the result we get. The real photo has turned into a watercolor painting.
 |
Here is a detailed guide on how to make watercolor paintings using Photoshop from real photos. Wish you success.
Source

![[Photo] General Secretary To Lam attends the 80th Anniversary of the Cultural Sector's Traditional Day](https://vstatic.vietnam.vn/vietnam/resource/IMAGE/2025/8/23/7a88e6b58502490aa153adf8f0eec2b2)
![[Photo] Prime Minister Pham Minh Chinh chairs the meeting of the Government Party Committee Standing Committee](https://vstatic.vietnam.vn/vietnam/resource/IMAGE/2025/8/23/8e94aa3d26424d1ab1528c3e4bbacc45)


Comment (0)